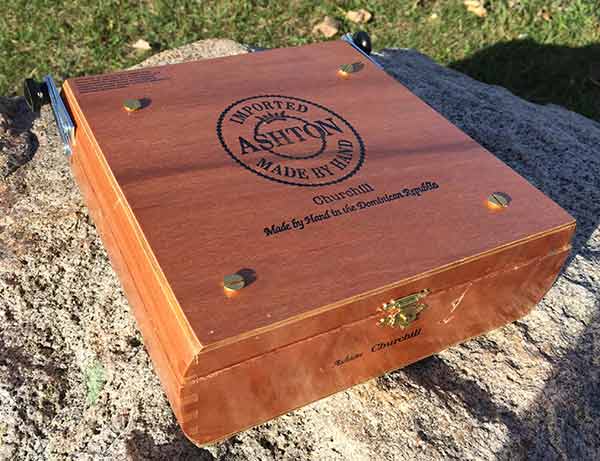
Meet Ashton, my new plein air painting buddy!
When I paint my plein air paintings, I stick with just one size — 11′ x 14″. I got this advice from Stefan Baumann’s YouTube videos. It makes things so easy. I have an EasyL Pro pochade box and a RayMar wet panel box that cater to these dimensions. I still have my old French Easel if I ever choose to work larger. My wife, Tammie, has suggested I also try painting small paintings, but neither easel works well for them.
This calls for a new pochade box!
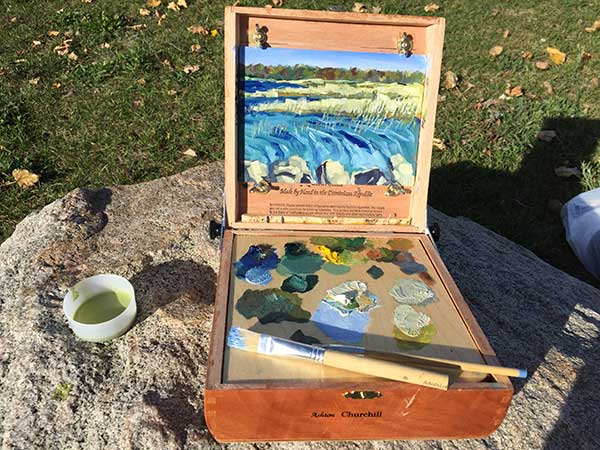
Ladies and gentlemen, meet Ashton, my new portable easel created solely to paint 5″ x 7″ panels! I made him myself after checking out a few links on Google on how to convert a cigar box to a pochade box. Sure, I could just buy one, but that could set me back at least another 70 bucks. No thanks. I’m too cheap, plus building my own easel gives me a feeling of accomplishment and, yes, even a sense of it truly belonging to just me.
First I went to a local liquor store that also specializes in cigars, They were selling empty cigar boxes for only 2 dollars each. (Later, I found another store that gave them away free. If you plan on building your own, call a local cigar seller and see what it takes to get an empty cigar box.) I had my measuring tape with me to investigate each box they had. It was important to me that the box lid was recessed and could hold a 5″ x 7″ panel vertically and horizontally. I wanted the wood to be relatively thicker and sturdier. I wanted a nice deep bottom to hold paints. I couldn’t choose between 2 boxes and bought them both. Once I got home and did more measuring, I realized that the Ashton Churchill box would probably work better.
I then made a trip to the local hardware store for a few supplies. The hardware that comes on cigar boxes can be flimsy. Cigar boxes aren’t meant to be used permanently. I also bought a thin strip of wood.
The Assembly
Once I got home, the first thing I did was measure the insides carefully and cut the wood strip down to smaller lengths that would fit inside the base. I attached them to the sides using wood glue. After clamping the strips to the sides, I let the cigar box sit overnight to dry. The purpose of these strips was to add a lip for a palette to sit on top. Also, the wood on a cigar box isn’t very strong and not that thick either. Adding this strip would allow the sides to take on any hardware I would attached later.
The next day, I cut another small strip so its length and width would work well to the bottom of the inside top lid. It also a little extra wood to take the small screws I needed to attach the hinges with. Again, I clamped the strip and let it dry overnight.
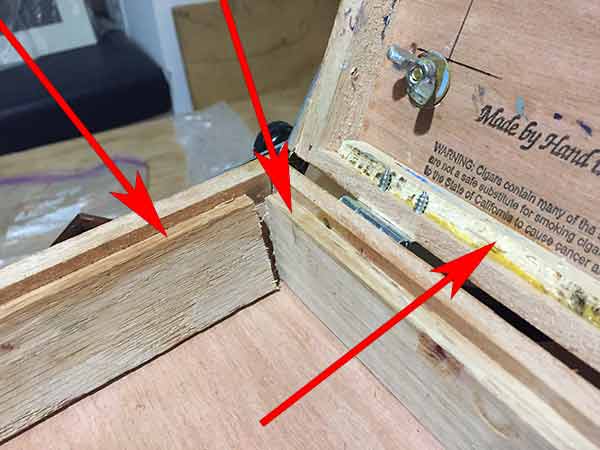
The arrows point to the pieces of wood strips I glued on to help secure the screws later on. The strips on the bottom of the cigar box also provide a lip for the palette to sit on.
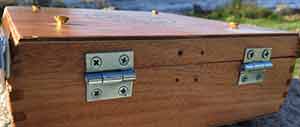
After all the glued on wood was dry. it was time to replace or augment the hardware on the cigar box itself. Cigar boxes are obviously not meant for any kind of permanent use. I marked where the holes of the new hinges would go. Then I drilled small holes at the markings. Then, I screwed the 2 new, stronger hinges to the back. I finished by prying off the flimsy, old hinge in the center.
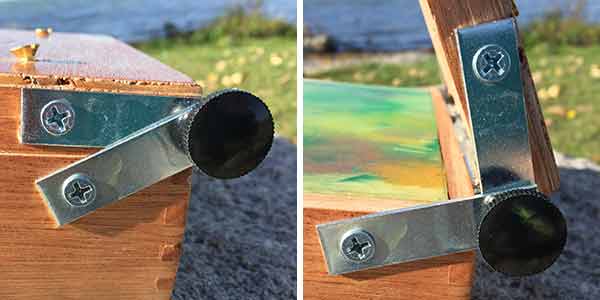
The cigar box now opens and closes more securely, but I needed to secure the lid so it stayed open at whatever angle I wished. I put a bolt in the middle to hold the 2 mending bars together. Then I attached the mending bars to each side, screwing them directly into the cigar box. I finished it by adding a metal washer and then a black screw cap. Now by turning the black screw cap, I could loosen or tighten the bars allowing me to open the cigar box and securing it to whatever angle I liked.
The hardest part for me to figure out what how to keep a panel in place in the top lid. The solution I came up with was drilling 4 holes in the top lid and inserting 4 small bolts. On top of each bolt, I added a larger washer and then a wing nut.
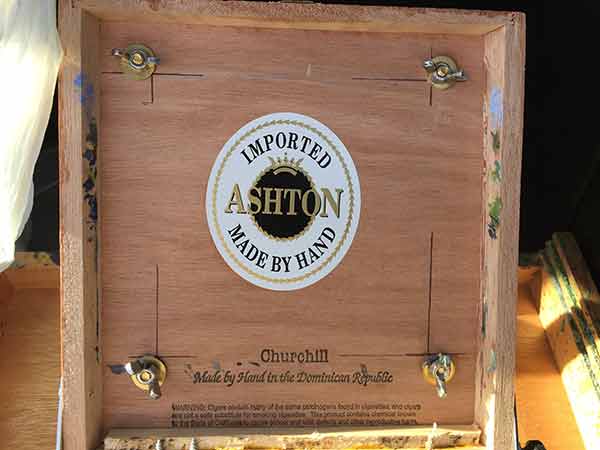
When it’s time to insert a panel, I loosen the wing nut and insert my panel under the washer. Then I tighten the wing nut to keep the panel in place. By measuring the holes carefully, this setup will accommodate a panel placed vertically or horizontally.
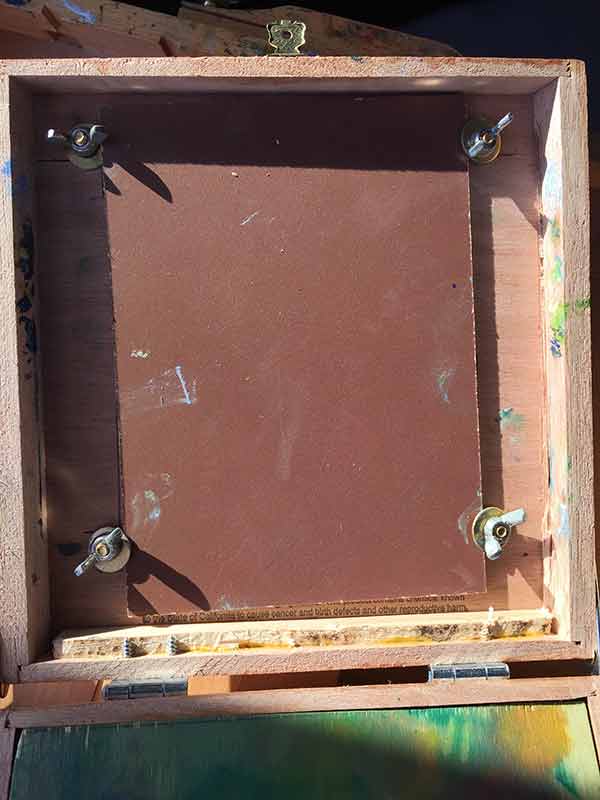
I confess I’m not crazy about this solution. I’ve used the easel 3 times and it’s not working as well as I’d like. I’m going to revisit the links to investigate a better way to keep the panels in place.
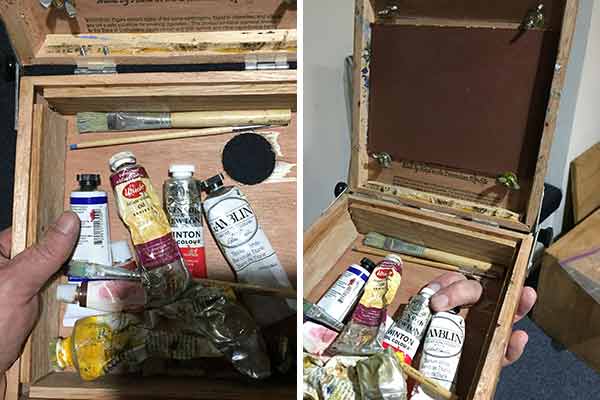
To finish the pochade box itself, I drill a hole in the top right of the bottom of the cigar box. This way, I can insert my fingers and let the box rest on my left wrist while I paint.
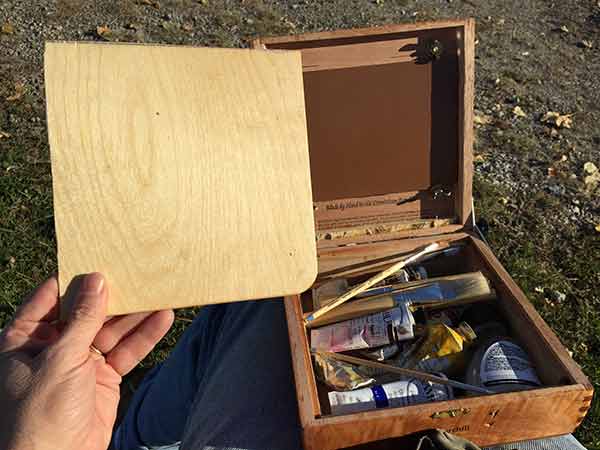
Lastly, I need a palette itself. I found an old palette that I cut down to size so it would sit on top of the lip I made earlier perfectly. I kept the rounded edge, so it would be easy to lift out. I prepped it for painting by brushing 3 coats of linseed oil, letting each layer dry overnight.
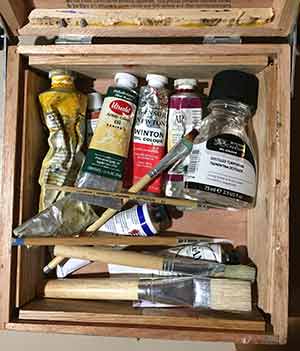
Done! Now I can fill the bottom with the supplies I need to paint. I have a few smaller tubes of paint, narrowing them down to just 6 or 7 tubes. I bought a small bottle of Terpenoid. I found a few half decent brushes and cut their handles so they’d fit into the box. I couldn’t fit a rag or a little container for the solvent, so I did have to have a secondary small bag.
Time to paint
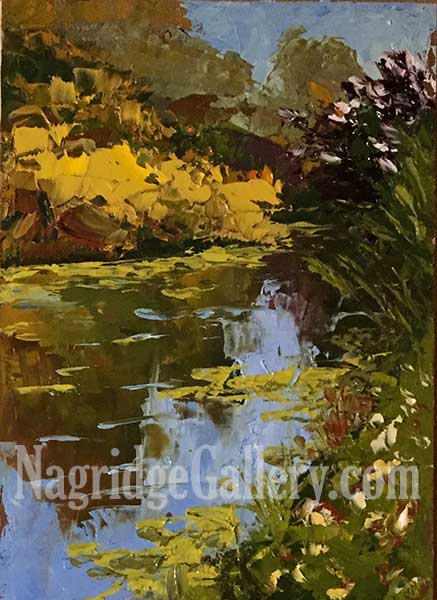
I was very eager to try Ashton out (yes, I calling my pochade box by the name branded on the top lid) and I had my chance last weekend. I took it with me to Mud Creek in the tip of the Lower Peninsula Michigan Thumb. Though, I normally paint with wood, I thought I’d do my first 5″ x 7″ as a brush painting. It’s been years since I painted in oils with a brush that I was eager to see how it would work for me. I actually found it difficult. By thinning the paint with a solvent, it also removed any opaqueness. I found it very frustrating trying to cover up paint with another color. The first layer would seem to swallow it up.
When I finished, I encountered another problem. From what I’ve read, once I’m done painting, I scrape the leftover paint off and wife the residue. After many uses, the residue dries to a nice sheen that will take future paint nicely. Until then, the paint has been absorbing a bit into the wood. When I wiped the palette clean, I got paint all over my hands and clothes. I’m thinking that in the future, I’ll go back to my method of wrapping my palette in foil. Then I can dispose of the leftover paint without the mess. I also didn’t like having to use solvent to thin the paint and clean the brush. I miss my painting knives. As such, my next two paintings were done with painting knives.
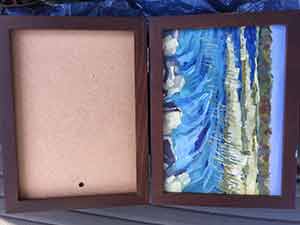
When I was done painting, I needed to be able to transport the wet painting back. I don’t have a wet panel carrier for 5″ x 7″ panels. Artist Rob Kulas gave me a great idea on using inexpensive frames with removable backs for panel carriers. Remove the glass and you’re set. I found this hinged double frame at Michael’s that works perfectly. At less than 10 bucks, I bought two of them, allowing me to transport 4 wet paintings. Plus I get to see what a painting looks like when it’s framed.
So now that you’ve seen Ashton, maybe you’re intrigued to build your own mini pochade box. The end cost for making it ended up maybe $15 at most — a far cry from the $70 an online art supply store was offering for theirs. You can’t get a better pochade box deal than that. It’s easy to transport and use. It takes me about 10 minutes or so to set up my EasyL. This box can have me painting a minute after I open it. The only set up is squeezing paint onto the palette. Another bonus is that I get get a painting done in only an hour. With a box like this, there’s no excuse to get a painting done, even if you don’t have a lot of time.
And the results…
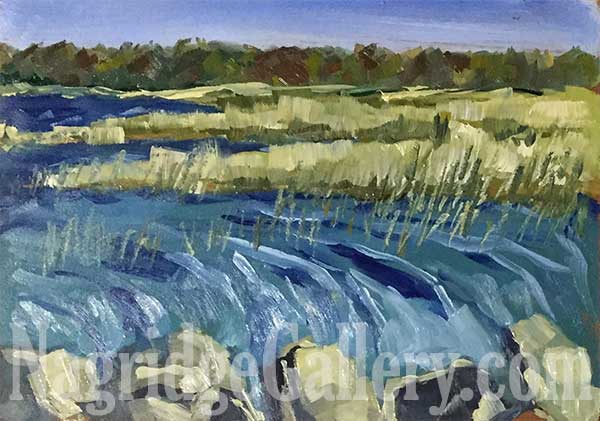
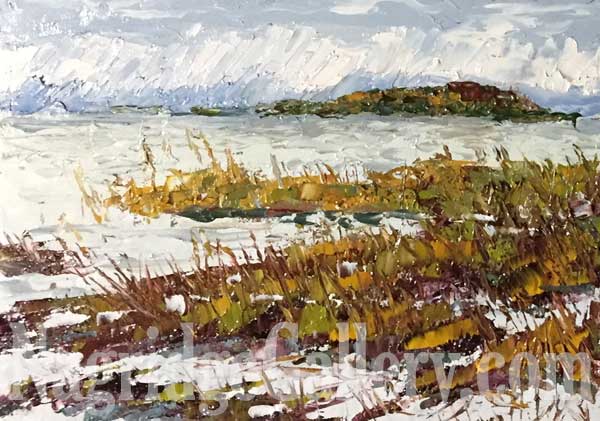
Here are the 3 paintings I’ve done with it so far. The first two all done at Mud Creek, between Bay Port and Caseville, Michigan. The last was done at the boat launch in Bay Port, Michigan.

Recent Comments