by John Nagridge | Jun 27, 2017 | Beginning Plein Air Painting
I have the sketch on my panel done. This is how I actually start the oil painting itself. (About time, right?)
I like to cover the panel with a thin layer of paint pretty quickly. The reason I like it thin is because I create form by painting lighter colors on top of dar to indicate form, and I use thicker paint for those lighter colors.
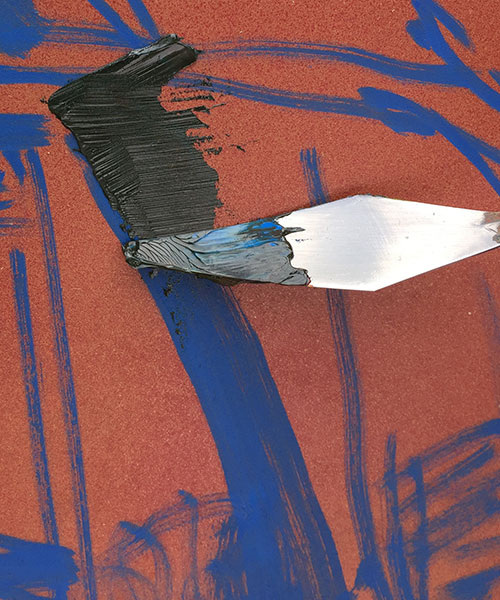
Usually, I like to start with the sky, but there wasn’t any sky in the angle I chose to paint. I decided to start with the darkest areas. I made a dark using a blend of burnt Sienna and cerulean blue. I pick some up on the underside of my knife and spread it onto the panel in an action akin to buttering a piece of toast. I try to paint a little over the lines, since I plan on covering up a lot of this layer anyway and this keeps from any unpainted panel to show.
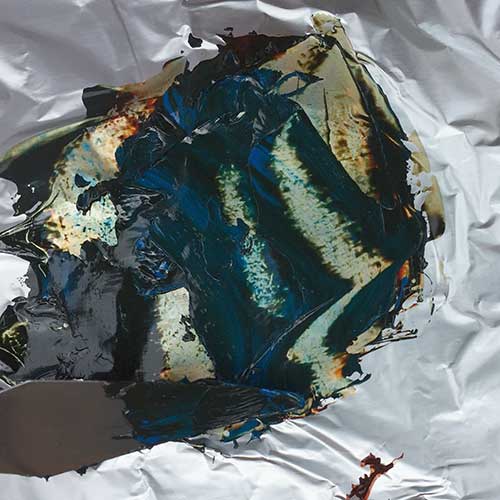
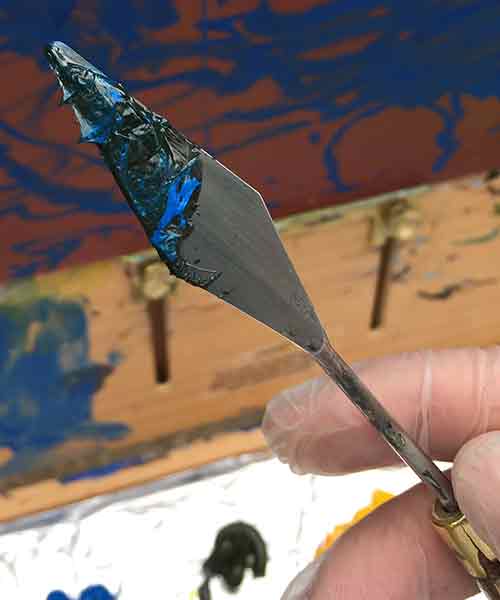
Even though, it’s an early stage, the dark looks dull and flat to me. I should probably leave it, but I couldn’t resist to add some more blue to it. I added some cerulean blue to my dark mixture, but I don’t mix it thoroughly. I want the marbleized variation in my blend.
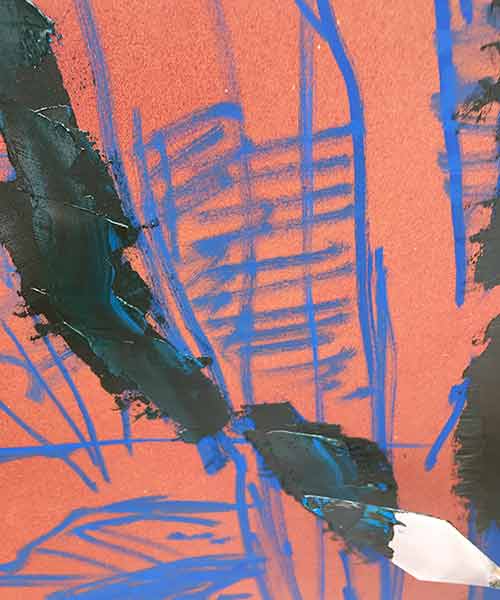
When I apply this mix of paint, I get some nice variation of color. When I apply it on top of the dull brown beneath it, I load up a nice amount and try to lay the bad flat against the surface and pull or push it. As long as I don’t angle the knife, I get nice paint coverage. I try my hardest not to paint over it again. If I make a mark and leave it alone, it looks a lot better than if I work it over. This is the hardest thing for me to do with knife painting. Once I apply paint, it’s so instinctive and tempting to go over a part that may not be covered by multiple spreads of the knife. That often ends up killing a nice spot of color variation.
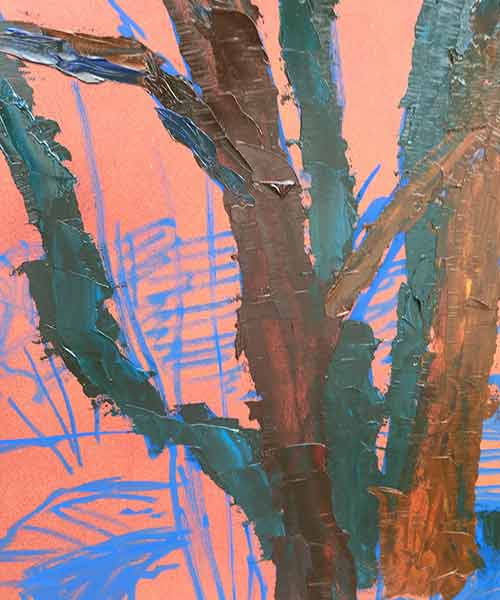
When I look into my scene, I see the trunks in the back are darker and cooler. The ones in front are lighter and warmer. They’re reflecting more light. So I try to indicate that with different types of dark paint. Some are cooler bluish darks; others are warmish brown darks. I try to apply my paint in interesting directions. If they’re all done the same way, the textures would be as boring as if I used the same color all over the panel.
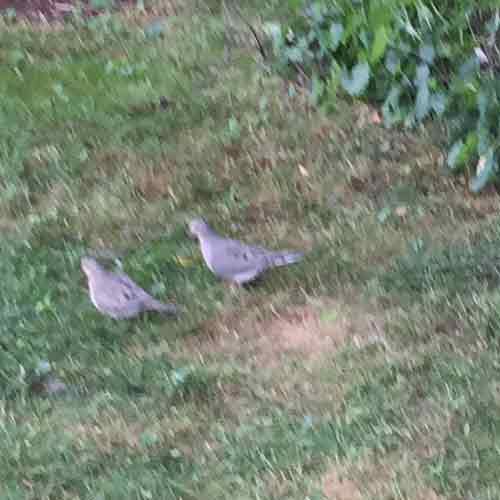
Well, look who just plopped down a mere couple yards from me. A couple beautiful morning doves, eating some birdseed left from when we fed our birds yesterday. They’re not in my sketch, but I can’t leave them out of my painting. Since they have no problem hanging around while I paint nearby, I gotta include them into my scene.
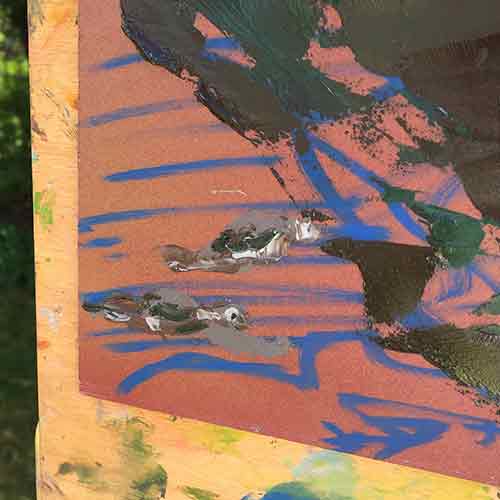
I don’t know how long they’ll hang around, so I paint them as quick as I can. I have to say, blending the exact warm gray of their feathers took a little time. I appreciated the birds’ patience on this.
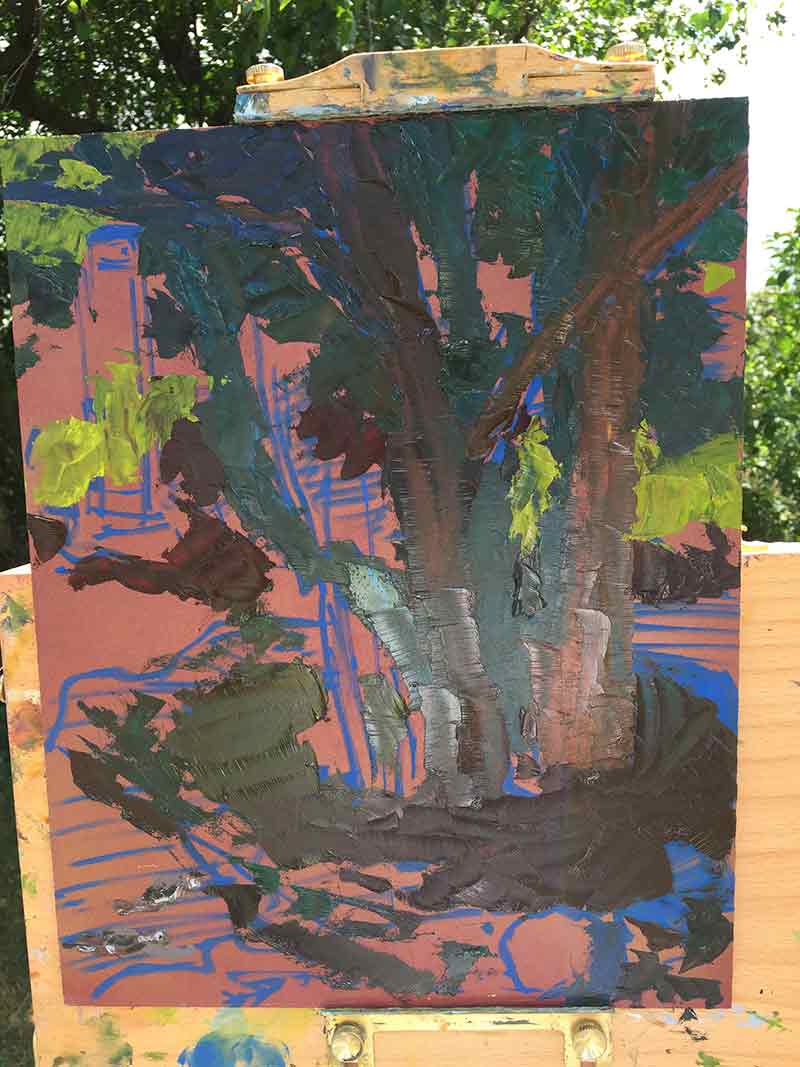
I start adding some darks to the soil at the base of the tree, knowing that later I will be adding a circle on violet leaves all around it. I also started adding some brother greens to indicate the sunlit yard behind the trees.
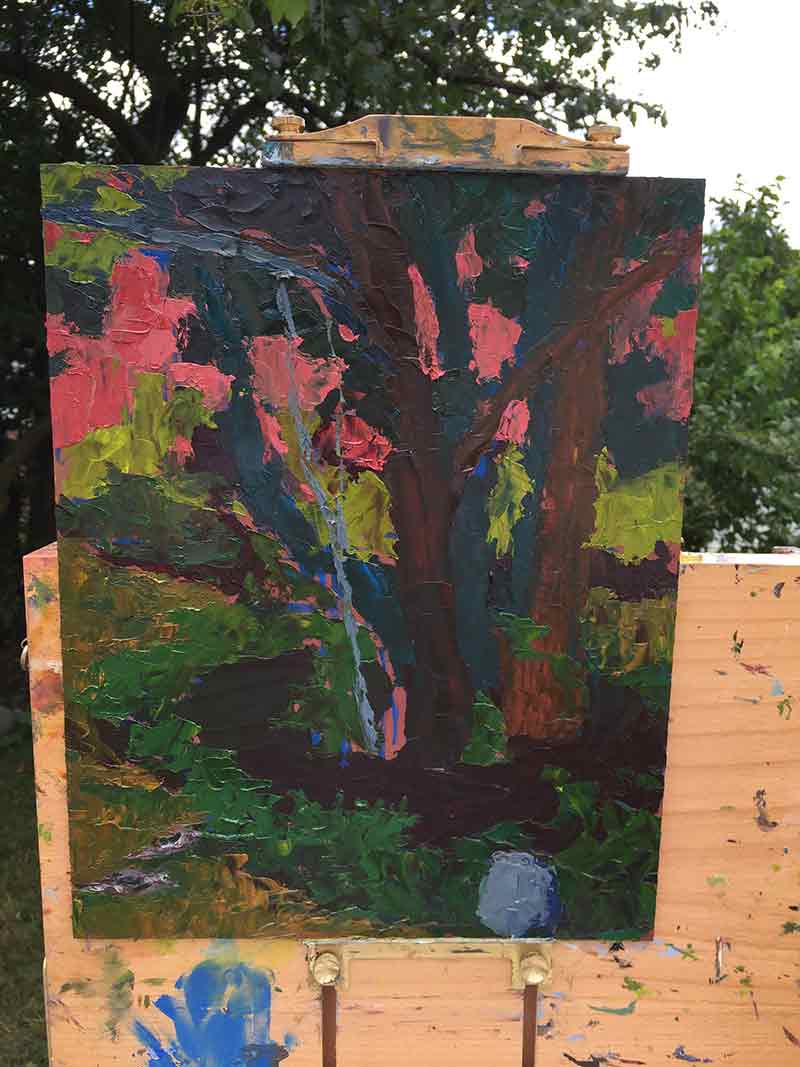
Okay, my panel is pretty much blocked in all over. It looks rough, but I have a nice layer of paint all over that I can go on top of with thicker paint. In some ways, this is basically a basic color sketch. Now it’s time to add thicker paint on top to make it look more like the scene I want it to be.
And that’s what I’ll show you next blog entry.
by John Nagridge | Jun 26, 2017 | Beginning Plein Air Painting
Now that we have our supplies we’ve discussed (an easel, canvas or panel, the paints, your knives, and everything else), let’s start a plein air painting. I’ll show you how I worked on an oil knife painting yesterday.
Choosing the scene
First, you have to decide where you’re going to paint. Maybe there’s a nice park or body of water you can travel to. Usually, I don’t mind driving a little bit to get to a more picturesque location. But in my case yesterday, time prevented me from going further than my own back yard.
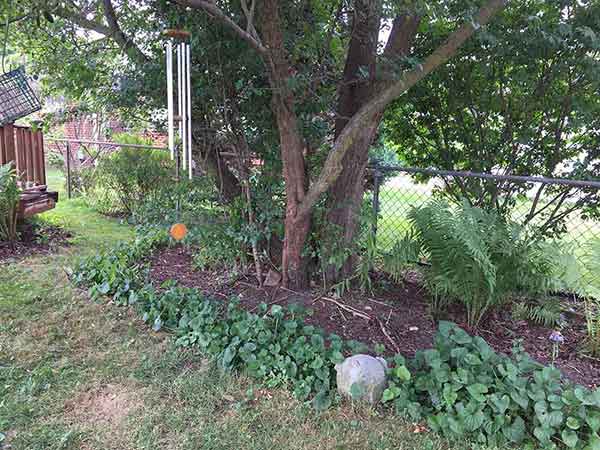
Once I’m at my chosen locale, I get my supplies out and carry them with me. (This is why I don’t want to over pack. It gets difficult lugging all the supplies around if my backpack is too heavy.) I walk around my chosen area until a scene inspires me. For this painting, I chose a Hawthorne tree in my back yard. I love the multiple, undulating trunks with the thick foliage of leaves that shade the ground. Hanging on one of the limbs is one of my wife’s wind chimes that I want to include. The scene is backlit by bright sun, which help define the trunks in shadow. On the ground is a cement bird stage, although I’ll just interpret it as a simple rock.
Composing the scene
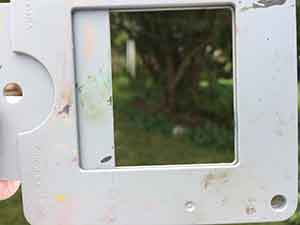
I use my viewfinder or even a cupped hand to help me crop a nice scene from the surroundings. I don’t rush this part. If the scene doesn’t inspire me, I’ll end up doing a painting that looks like I’m bored. I use your viewfinder, turning it so the rectangle opening is sideways. After looking at different possible compositions, I then turn it so the opening is vertical. I always give myself many options on what to paint. When I find a composition through the viewfinder that excites and inspires, I’m ready to start.
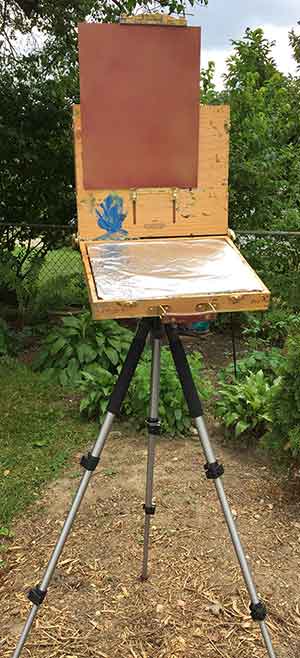
First, I unload my supplies into the ground. I set up my trip-pod and easel. The composition I chose is a vertical one, so the panel is inserted in a vertical format.. Being right-handed, I have the easel to the right of the scene I’m painting. I set the panel closer to the left edge, so it’s closer to the scene.
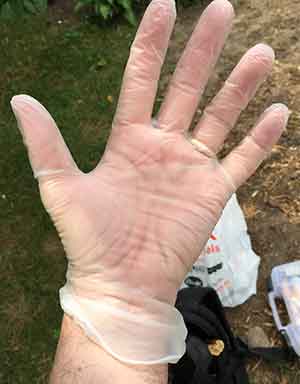
Since I don’t like to get paint on my hands, I put on a pair of my medical gloves. This will save me a lot of time later for clean up. Now I need together a sketch onto it. Usually, I like to do some thumbnail sketches first, but, again, time prevented me. (In a future blog, I’ll in detail why doing thumbnails is a great idea.)
Making my sketch
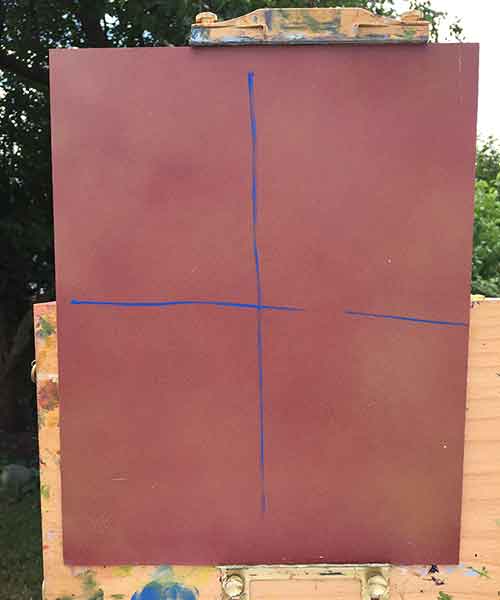
I need to get a drawing on my panel first. When it comes to composition, there’s many schools (rule of thirds, the Golden Mean, etc.). Since I need to work quickly on a plein air painting, I keep it simple. I draw a line in the center horizontally and vertically with my acrylic paint marker. These will be the areas I try to avoid putting and focal pints or major elements in. For instance, I always put my horizon line above or below the horizontal center line. I always put my focal point to the right or left of the vertical center line. This makes my composition much more interesting.
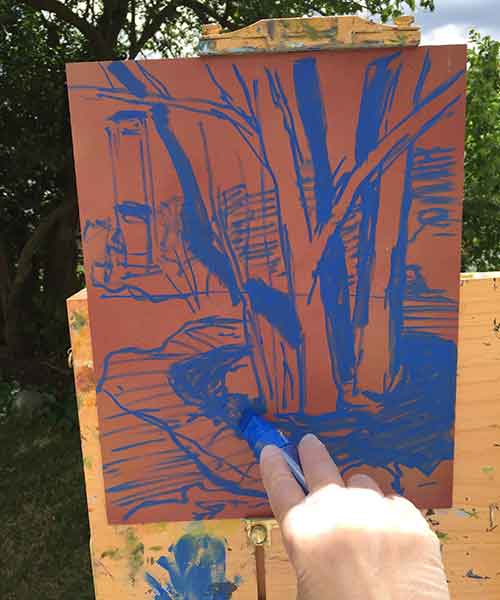
Using the acrylic paint marker, I draw the shapes simply and carefully onto my panel, looking through my viewfinder at the scene. This helps me keep the elements I’m drawing in the right proportions. When I’m happy with the shapes, I sometimes block in shadows to make sure I have a nice balance of lights and darks. Once I have the drawing done, I set up my pallet of colors. By the time, I have them arranged, the acrylic paint drawing will easily be dry enough to paint on top with my oil paints.
Setting up the paints
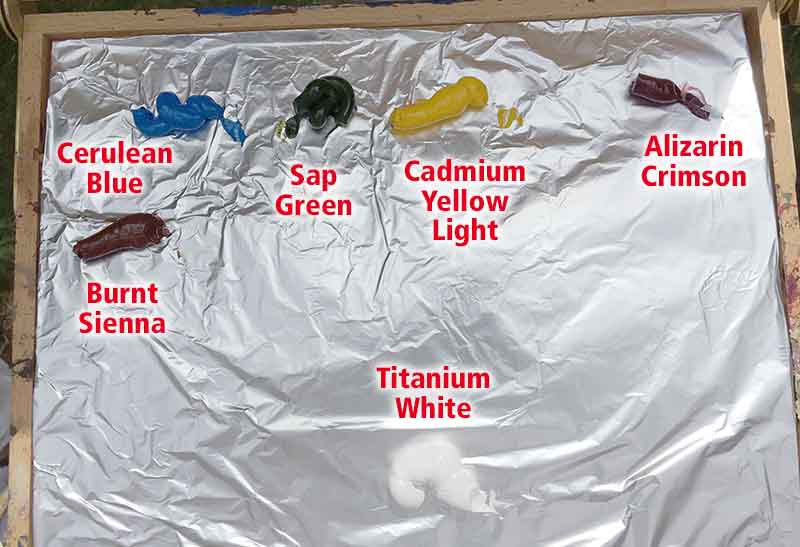
The photo above shows the palette I used for the painting. I typically have used Ultramarine Blue as my blue in most of my paintings in the past, but lately I’ve switched to Cerulean Blue, which helps me achieve brighter greens. As for the arrangement of the colors, it’s not one I’ve seen used by most artists, but it’s worked for me. I make sure to keep the same arrangement every time I paint outdoors, so I never have to hesitate picking up paint since I know where my colors sit at all times. I make sure to squeeze a decent amount of paint. Knife painting uses a lot more paint than brushes do and I don’t want to waste time bending down and squeezing more paint onto the palette.
What’s the rush?
I mentioned a few times about not having a lot of time, so let me elaborate on that. When I pick a scene a paint, a lot of the elements that interest me are the shapes of the shadows and the sunlight. The sun moves across the sky pretty quickly and 30 minutes later, I’ll find the shadows have changed dramatically. The first half hour of painting is crucial, and a lot of the painting afterward is based on memory. Plus, I find my mental energy drains after 3 hours of painting. I don’t want to apply paint if I’m losing enthusiasm for the painting. Lastly, there’s the fickleness of Mother Nature. When I started my painting yesterday, it was bright and sunny, but a couple hours later, it became very cloudy and started to drizzle a bit. I finished my painting before it started raining hard a couple hours later, but one can never truly predict weather throughout the day — at least not in Michigan!
It’s cliffhanger time!
I have the drawing on my panel. I have the paints set on my palette. I get a rag in my left hand and my painting knife in my right. But we’ll have to wait until the next blog entry to see me paint. Catch you then.


Recent Comments